Hello Crafty Friends,
Welcome to my blog.
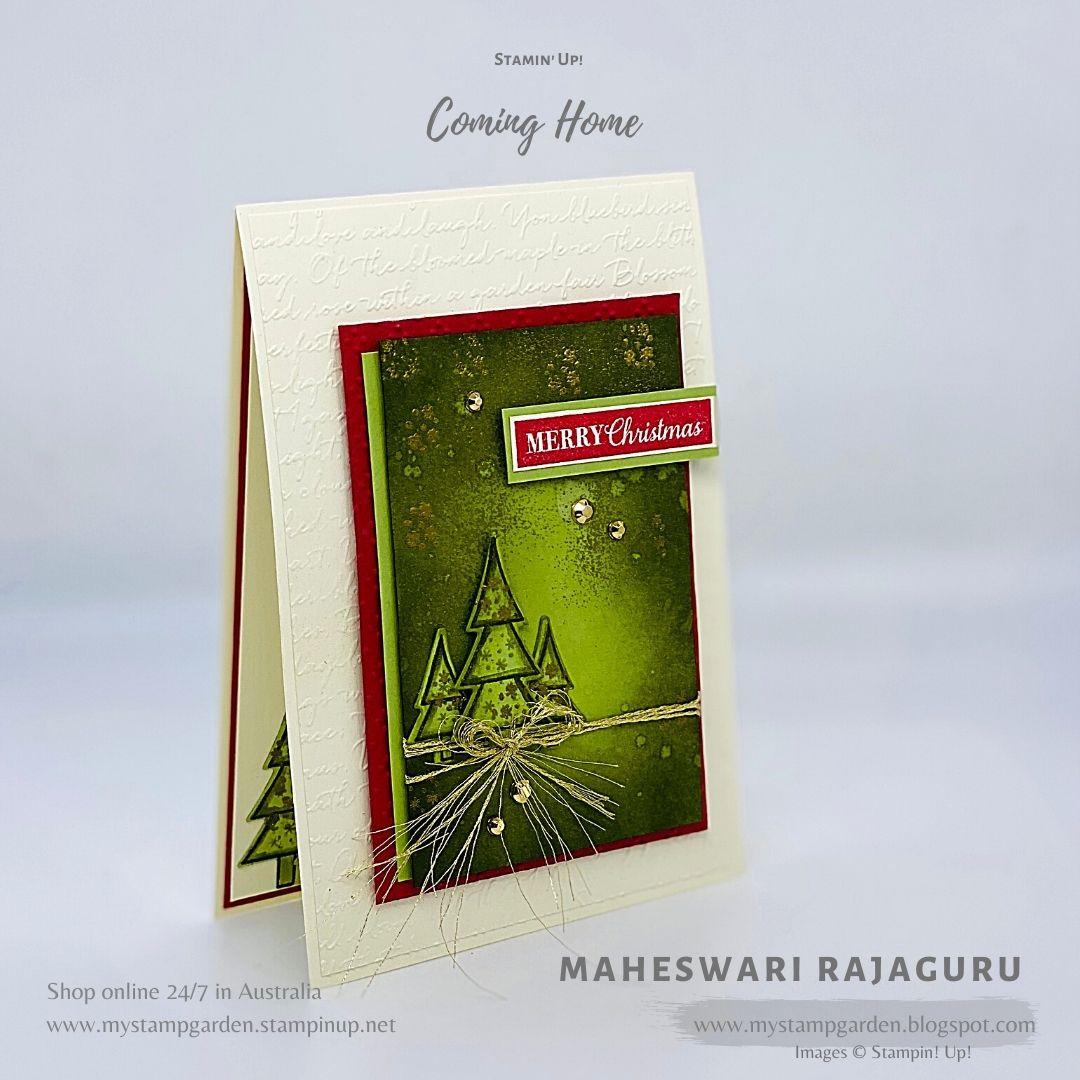
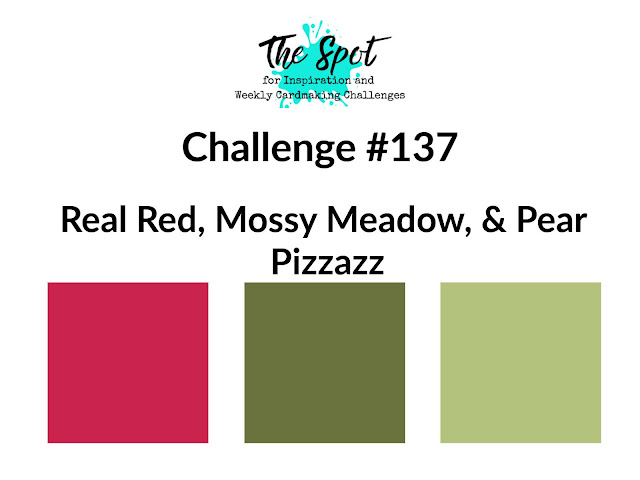
Today's card for my The Spot Design Team Project for this week The Spot Challenge-#137- Colour Challenge.
I used Stampin' Up! ' Coming Home ' stamp set for the image and ' Christmas Gleaming' stamp set for the sentiment.
You can also come and join this weekly fun The Spot Challenge #137
Measurements in Metric :
- Base Card Very Vanilla A4 Card Stock : 27.8 cm by 10.5 cm (Cut at half on 10.5 cm on 21cm side , scored and folded at half on 14.9 cm )
- First layer Very Vanilla : 10 cm by 14.4 cm ( embossed using Script 3D embossing folder)
- Second layer Real red: 7.9 cm 11.2 cm ( embossed using Wrapped in Texture embossing folder )
- Third layer Pear Pizzazz: 2 cm by 10.5 cm ( Scrap Piece for the side )
- Fourth Layer Pear Pizzazz : 7 cm by 10.5 cm
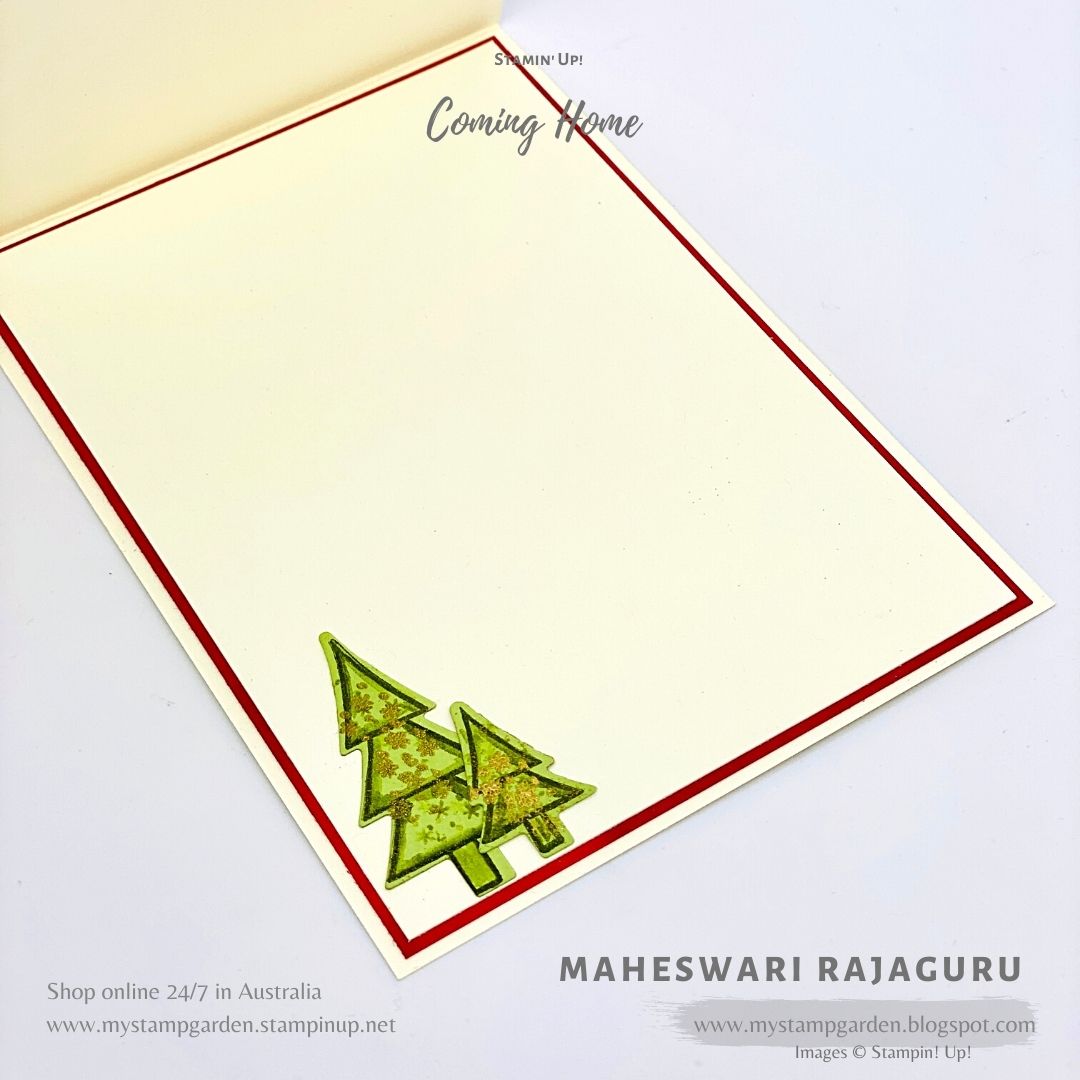
- Real Red : 10 cm by 14.4 cm ( Inside )
- very Vanilla : 9.7 cm by 14.1 cm ( Inside )
- Scrap pieces of Very Vanilla, Pear Pizzazz to stamp the sentiments and the image.
Measurements in Imperial: ( Letter Size card only )
- Base Card Very Vanilla : 8.5 " By 11" (Cut at half on 5 .5", scored and folded at half on 4 1/4" )
- First layer Very Vanilla : 4 " by 5 1/4"
- Second layer Real Red: 2 5/8 " by 3 15/16 "
- Third layer Pear Pizzazz: 3 /4 " by 4 1/4 " ( Scrap Piece for the side )
- Fourth Layer Pear Pizzazz : 3 " by 4 1/4 "
- Real Red : 4 " by 5 1/4" ( Inside )
- Very Vanilla : 3 7/8" by 5 1/8" ( inside )
- Scrap pieces of Very Vanilla, Pear Pizzazz to stamp the sentiments and the image.

- Adhere the embossed Very Vanilla Cardstock to the base card.
- Sponge the Pear Pizzazz Cardstock using sponge daubers on all the four sides, make sure to leave the centre part with out sponging, then sprinkle some water on the card. Stamp the snowflakes image on top of sponged area using Versamark Ink.
- Then add Stampin' Gold Emboss powder on top of it then use heat tool to melt the gold emboss powder.

- Stamp the Christmas tree image using Mossy Meadow ink pad and stamped the snowflakes on the trees using Pear Pizzazz ink and again stamp few snowflakes using Versamark Ink pad then add the gold Stampin' emboss powder and heat emboss it.
- Now add the Die- cut pieces of trees to the card. Make 3 wrap of Forever Greenery Golden Trim around the card and make a double bow and attach it using glue dots.
- Add small scrap piece of Pear Pizzazz to one side of the Pear pizzazz card stock .
- Next attach the Pear Pizzazz to the Real Red Cardstock using stampin' dimensionals.
- Finally adhere all of them on top of the embossed Very Vanilla Cardstock.
Hope you all liked my today's card, please make sure to comment below I love to hear from you.

Join My Team today to enjoy Monthly Free Online classes with lots of great tips and tricks with PDF tutorial exclusive to my team members.
When you Shop Online $40 or more using the November Host Code: NCVEEDXG to receive a FREE GIFT and a Handmade Thank you card from me.
If you are in Australia (if you don't have a Demonstrator ) I would love to be your Demo.
Need a catalogue? email me with your full postal address at: stamp.mahes@gmail.com and I am very happy to send you one.
Shop Online:
 $17.00 |  $15.25 |  $15.25 |  $15.25 |
 $17.50 | |||
 $81.00 |  $16.50 | ||
 $10.50 |  $50.00 |  $209.00 |  $9.00 |
 $8.00 |  $12.25 |  $7.00 |  $6.00 |


Thank you for your time, happy Stamping- hugs Maheswari :)