Hi Lovely friends,
Welcome to my blog.
My today's card using the beautiful Whimsical Trees Bundle. All the product which used here is available in my Online Store. Check out the image at the bottom of the blog post will take you straight to my Online Shop.
A4 CARDSTOCKS: Thick Basic White, Basic White, Crumb Cake, Mossy Meadow
DSP: Whimsy & Wonder Designer Series Paper, Be Dazzling 6 by 6 DSP ( Sale-A-Bration FREE )
STAMPIN"CLASSIC INK: Mossy Meadow Stampin' Classic InkPad.
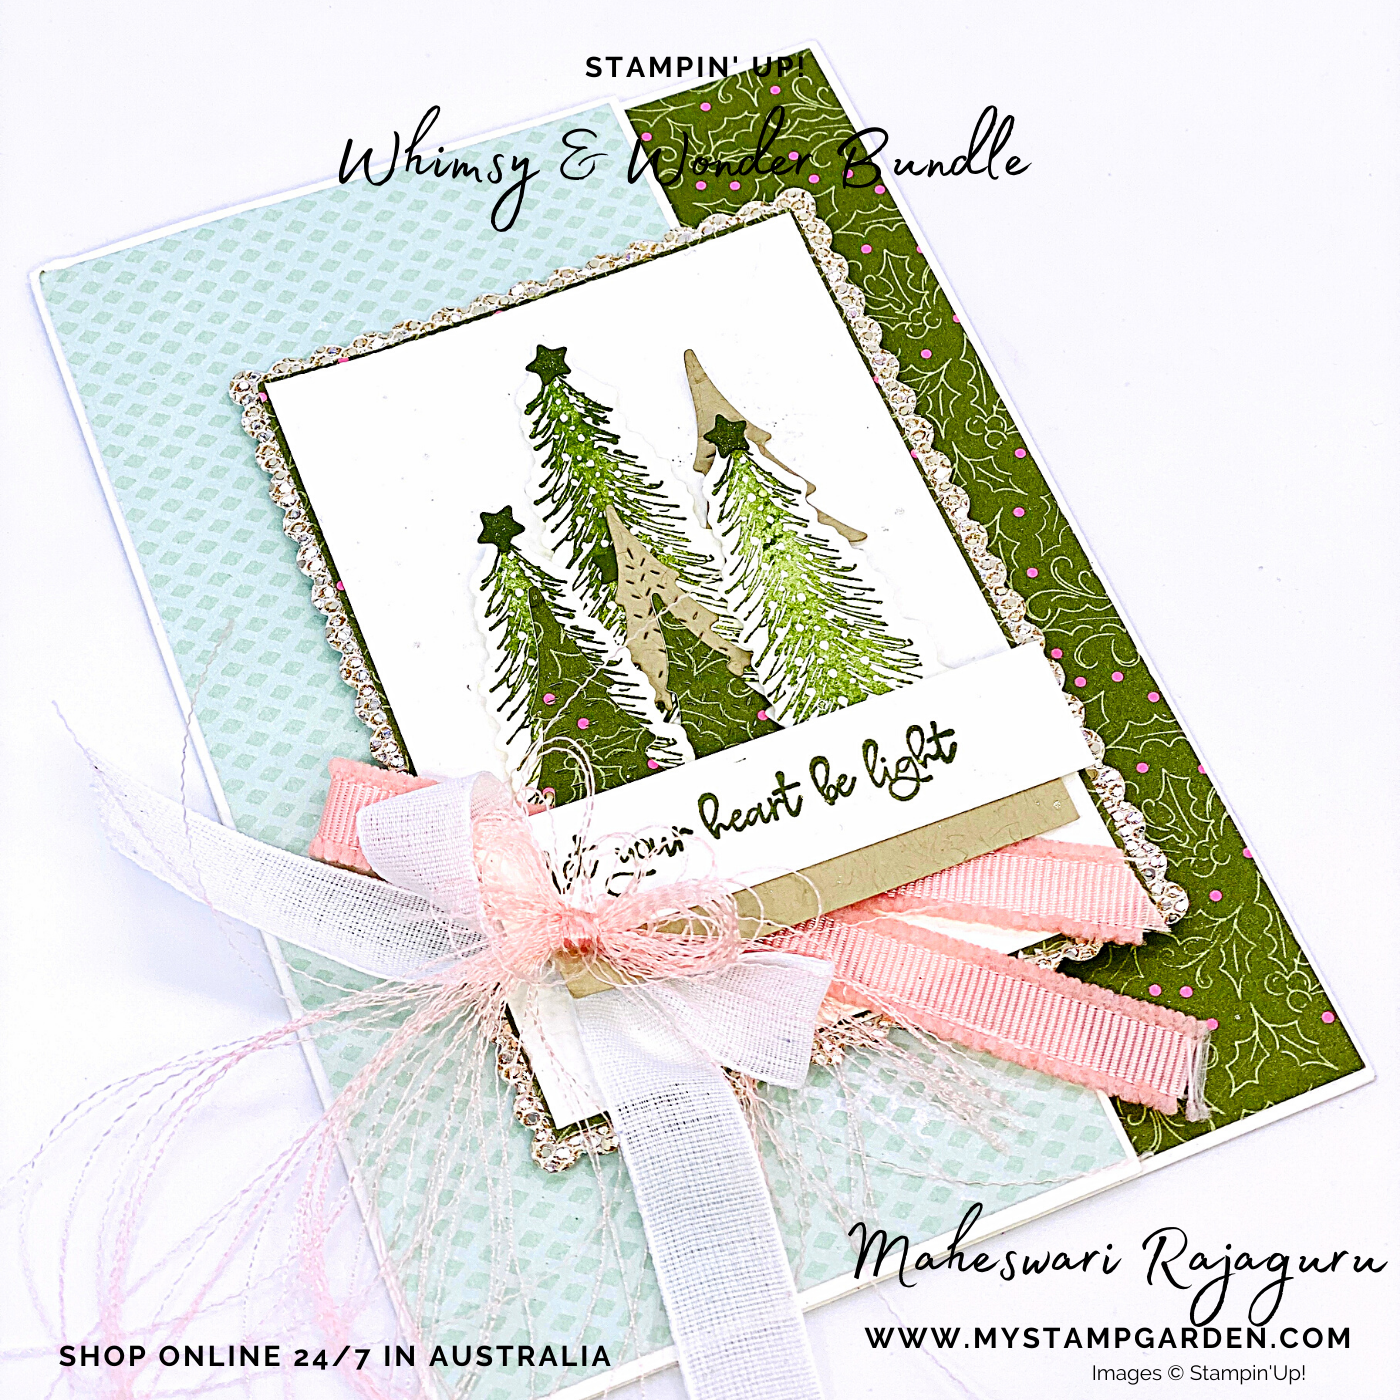
- Base Card- Thick Basic White 14.9cm by 17.9cm scored @ 7.6cm
- Layer 1 -DSP 7.4 cm by 14.6 cm
- Layer 2: DSP -14.6 cm by 3.2 cm ( Side )
- Layer 3: Stitched So Sweetly dies - Large Rectangle dies.
- Layer 4: DSP 9.8cm by 6.8cm ( Next to the scallop rectangle dies )
- Layer 5: Basic White - 9.6 cm by 6.6 cm ( Image - Centrepiece )
- Basic White -9.9cm by 14.6 cm ( Inside )
- DSP- 7.7cm by 14. 6 cm ( Inside - DSP )
- Basic White - 3 cm by 14.6cm ( To hold the GIFT card -embossed using Tasteful textile 3D embossing folder )
Attach all the layers inside and outside of the base card using the above measurements. Next, adhere to the scalloped Rectangle dies and attach all the pieces.
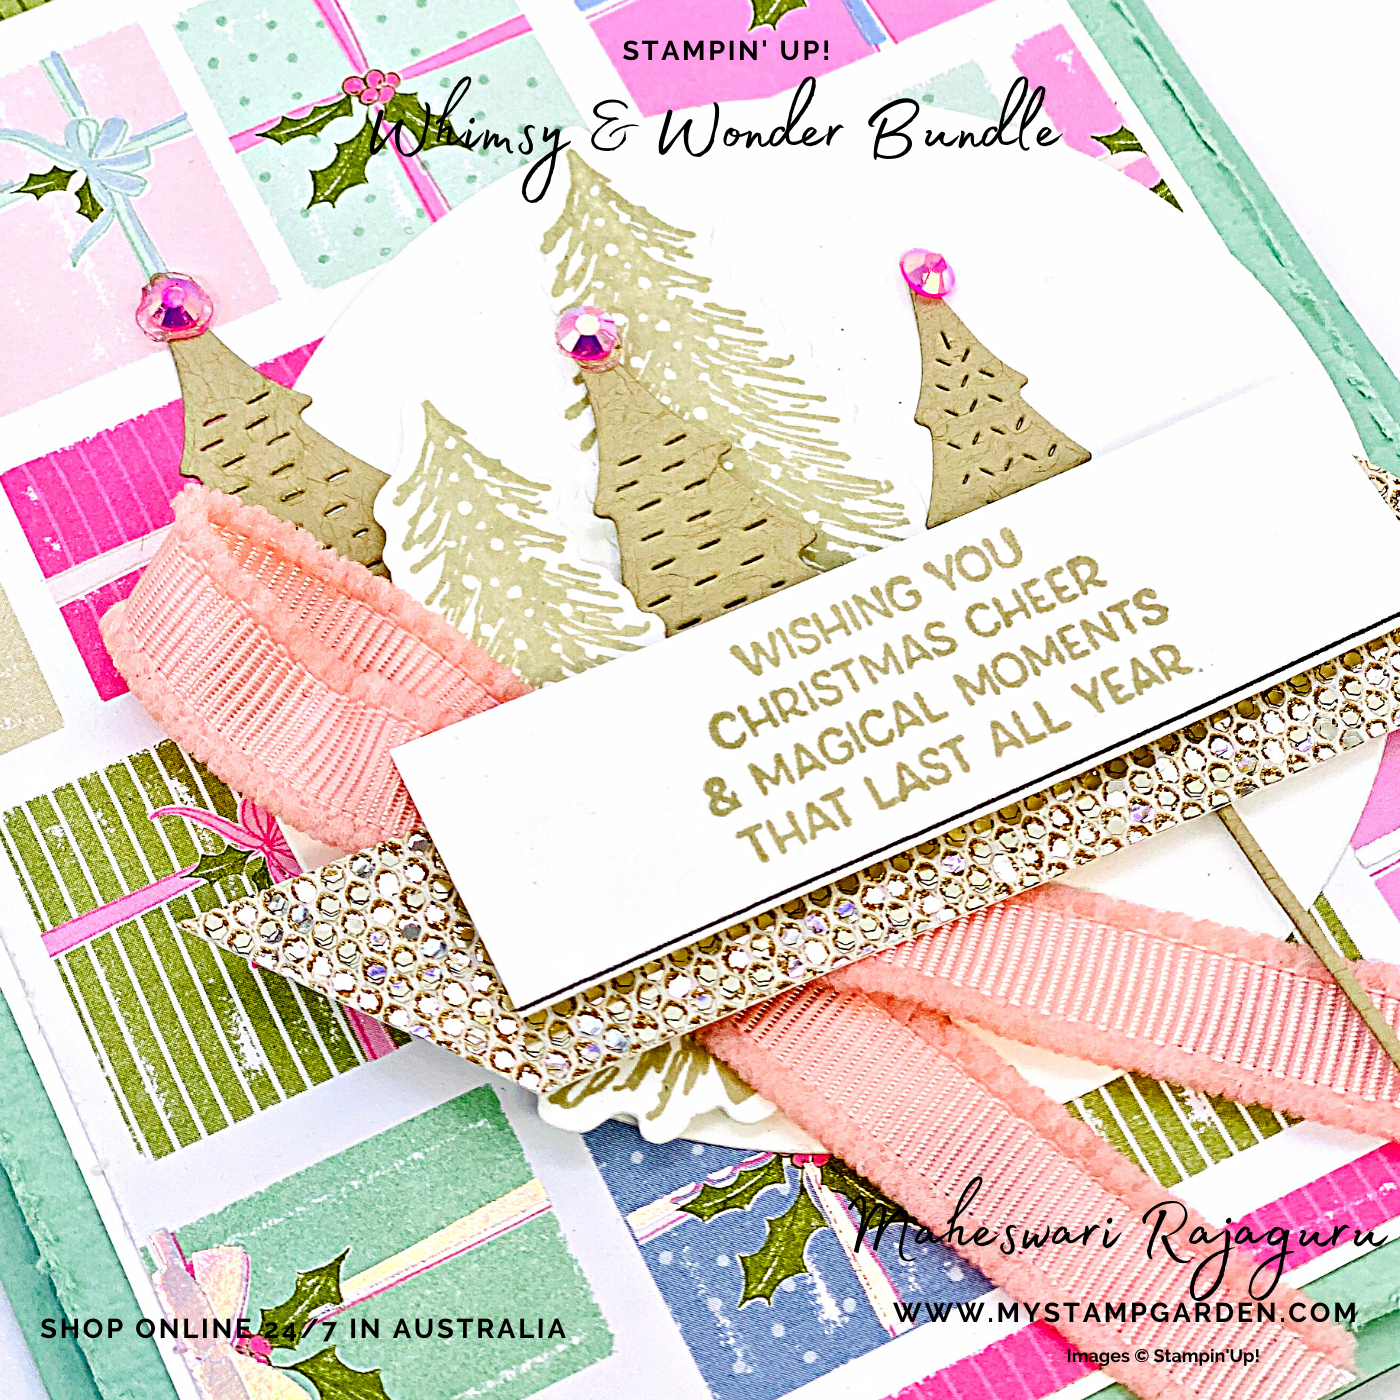
Die-cut the Christmas trees using the cardstock Crumb Cake and the Designer Series Paper. Tiny Star is attached on top of the tree using glue dots. Adhere the ribbons using glue dots and die-cut pieces.
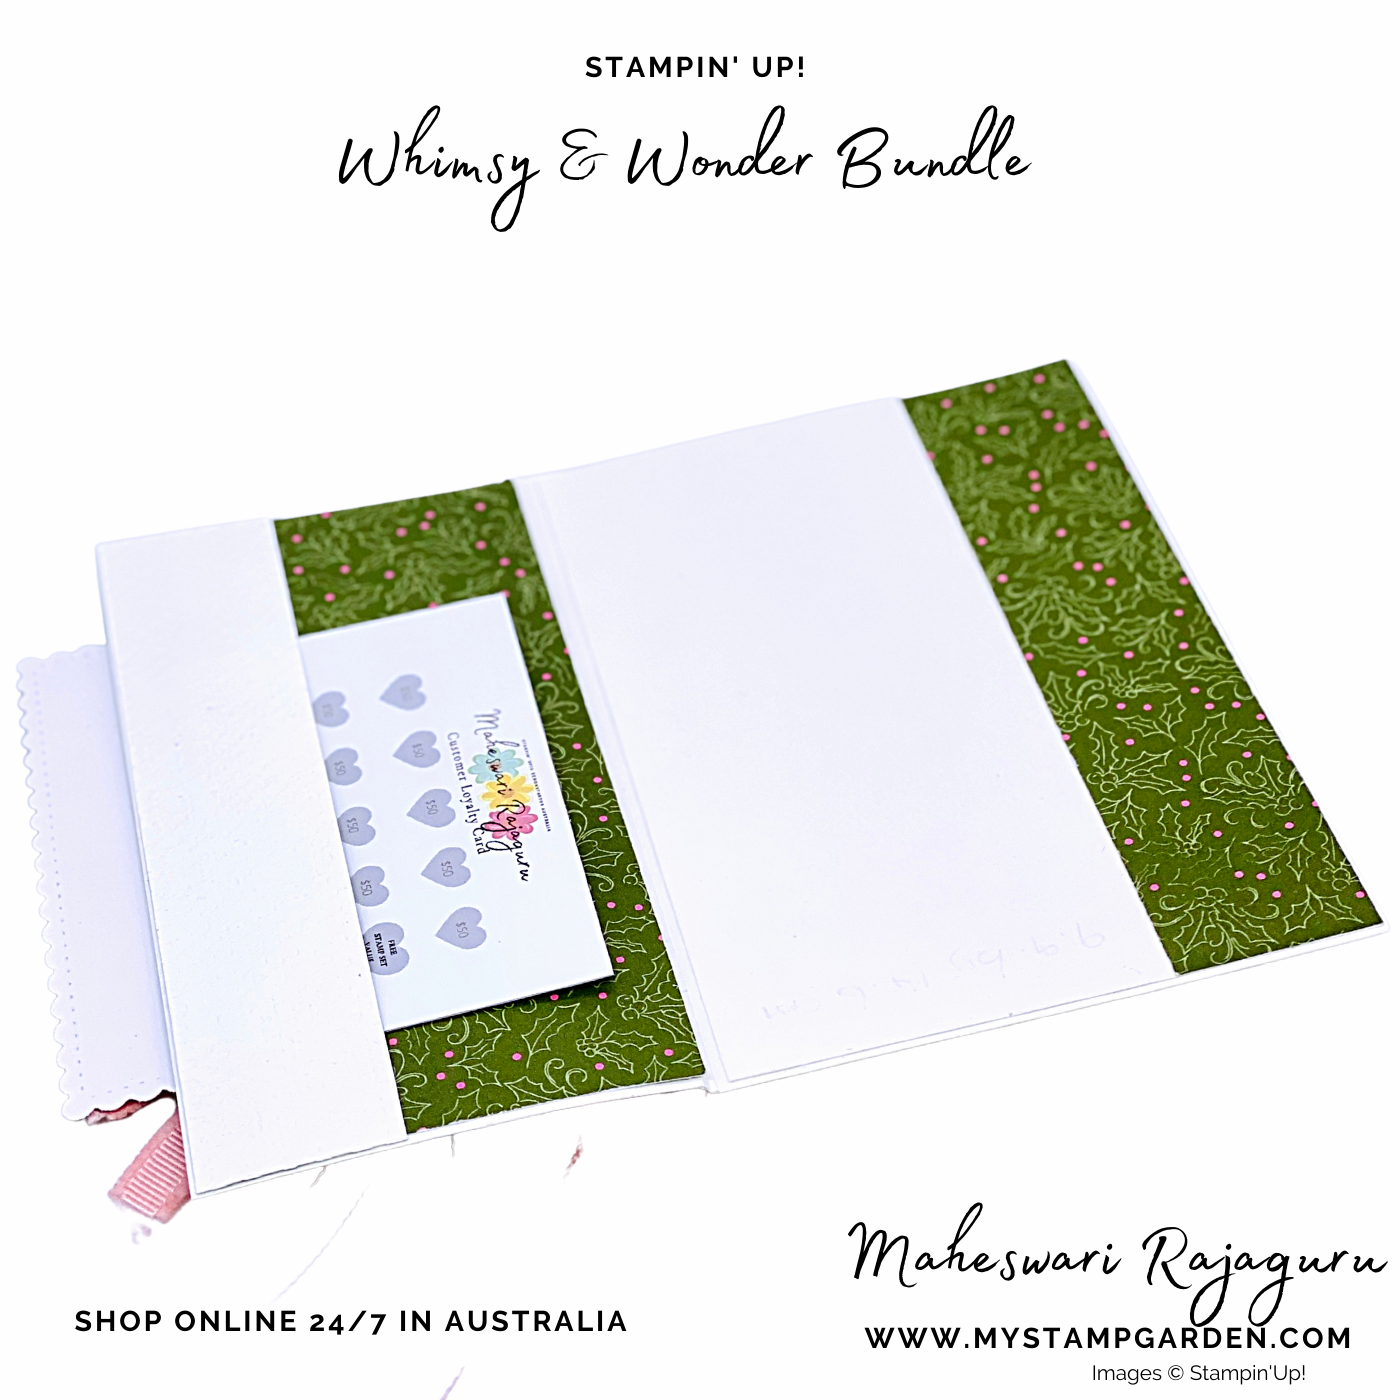
To insert the Gift card, I added the embossed basic white cardstock on the side and applied glue only on the two corners of the card.
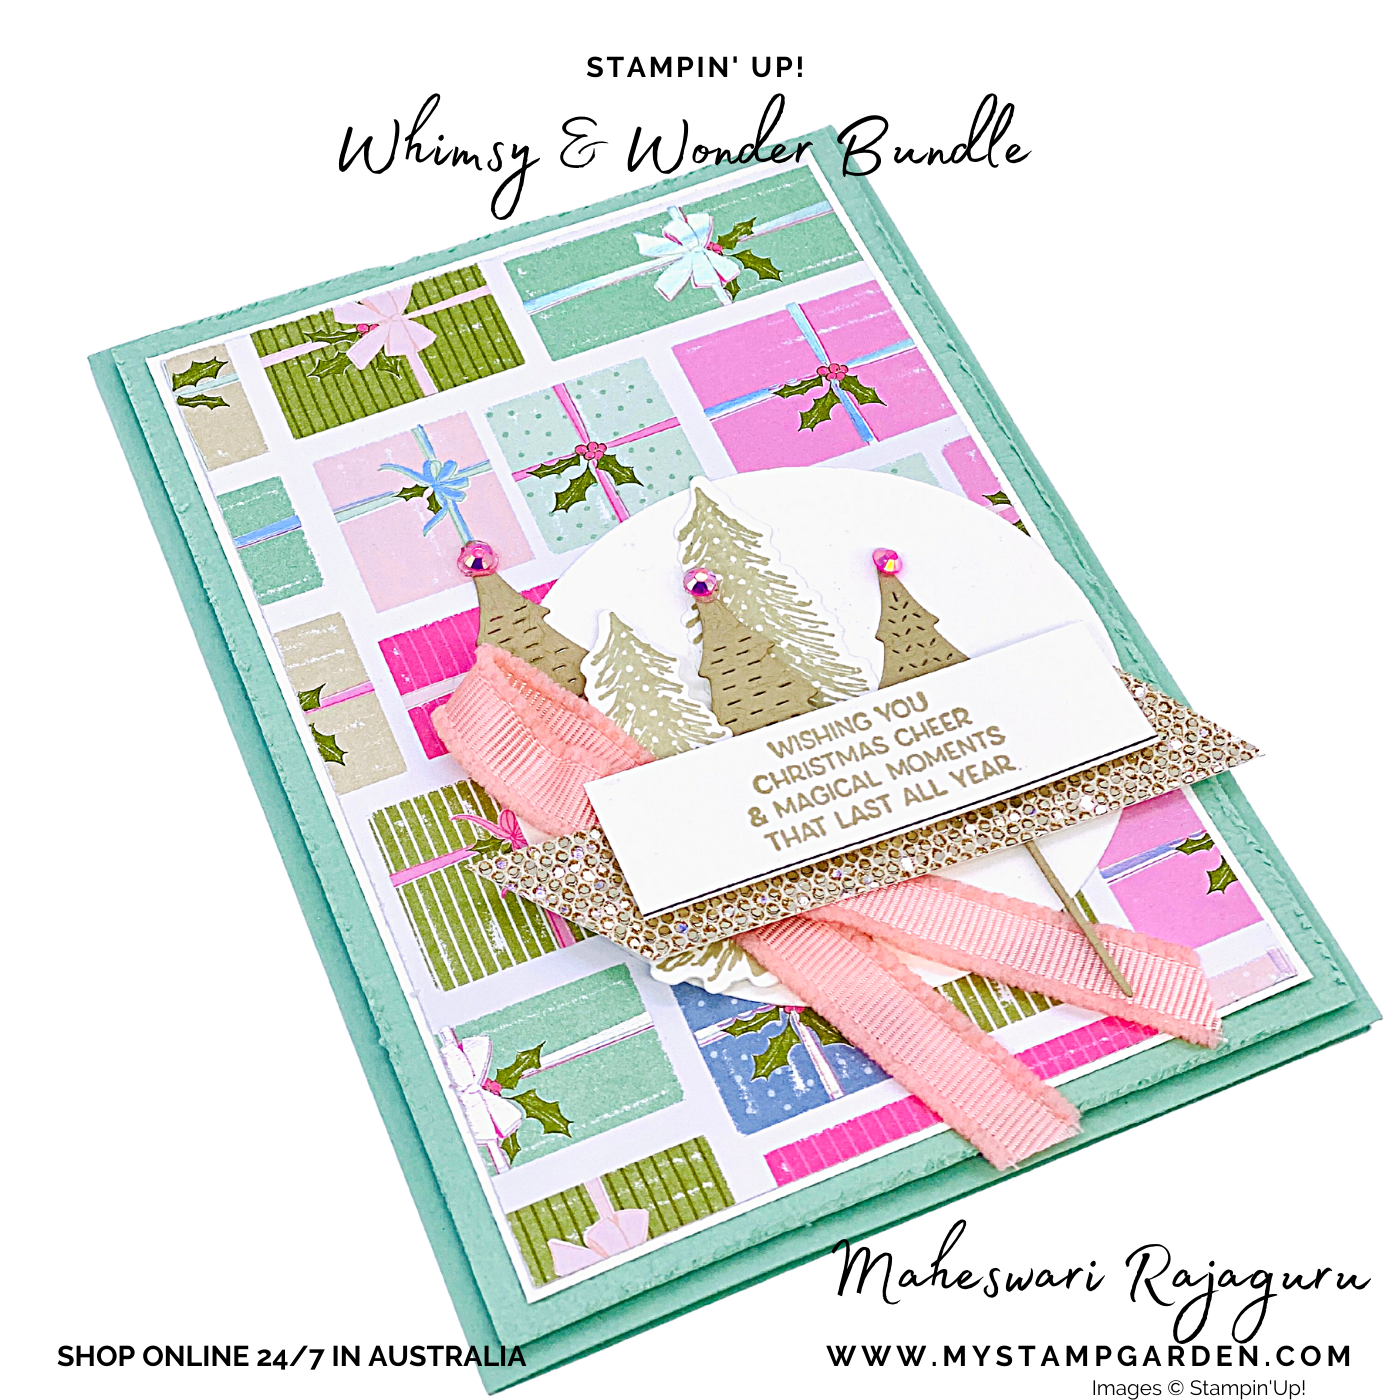
Here is another card to hold the Gift Card but an effortless design to beautifully
showcase the Designer series paper.
showcase the Designer series paper.
Measurement:
- Base Card-Mint Macron
- Layer 1-Mint Macron 10cm by 14.4cm ( embossed using Tasteful textile embossing folder )
- Layer 2- Basic White - 9cm by 13.4 cm
- Layer 3- 8.8 cm by 13.2 cm( Designer Series Paper)
Inside : DSP- 10 cm by 14.4 cm ( Left side )
Crumb Cake : 10 cm by 14.4 cm
Basic White: 9.7 cm by 14.1 cm
DSP: 4 cm by 14.1cm ( right side )
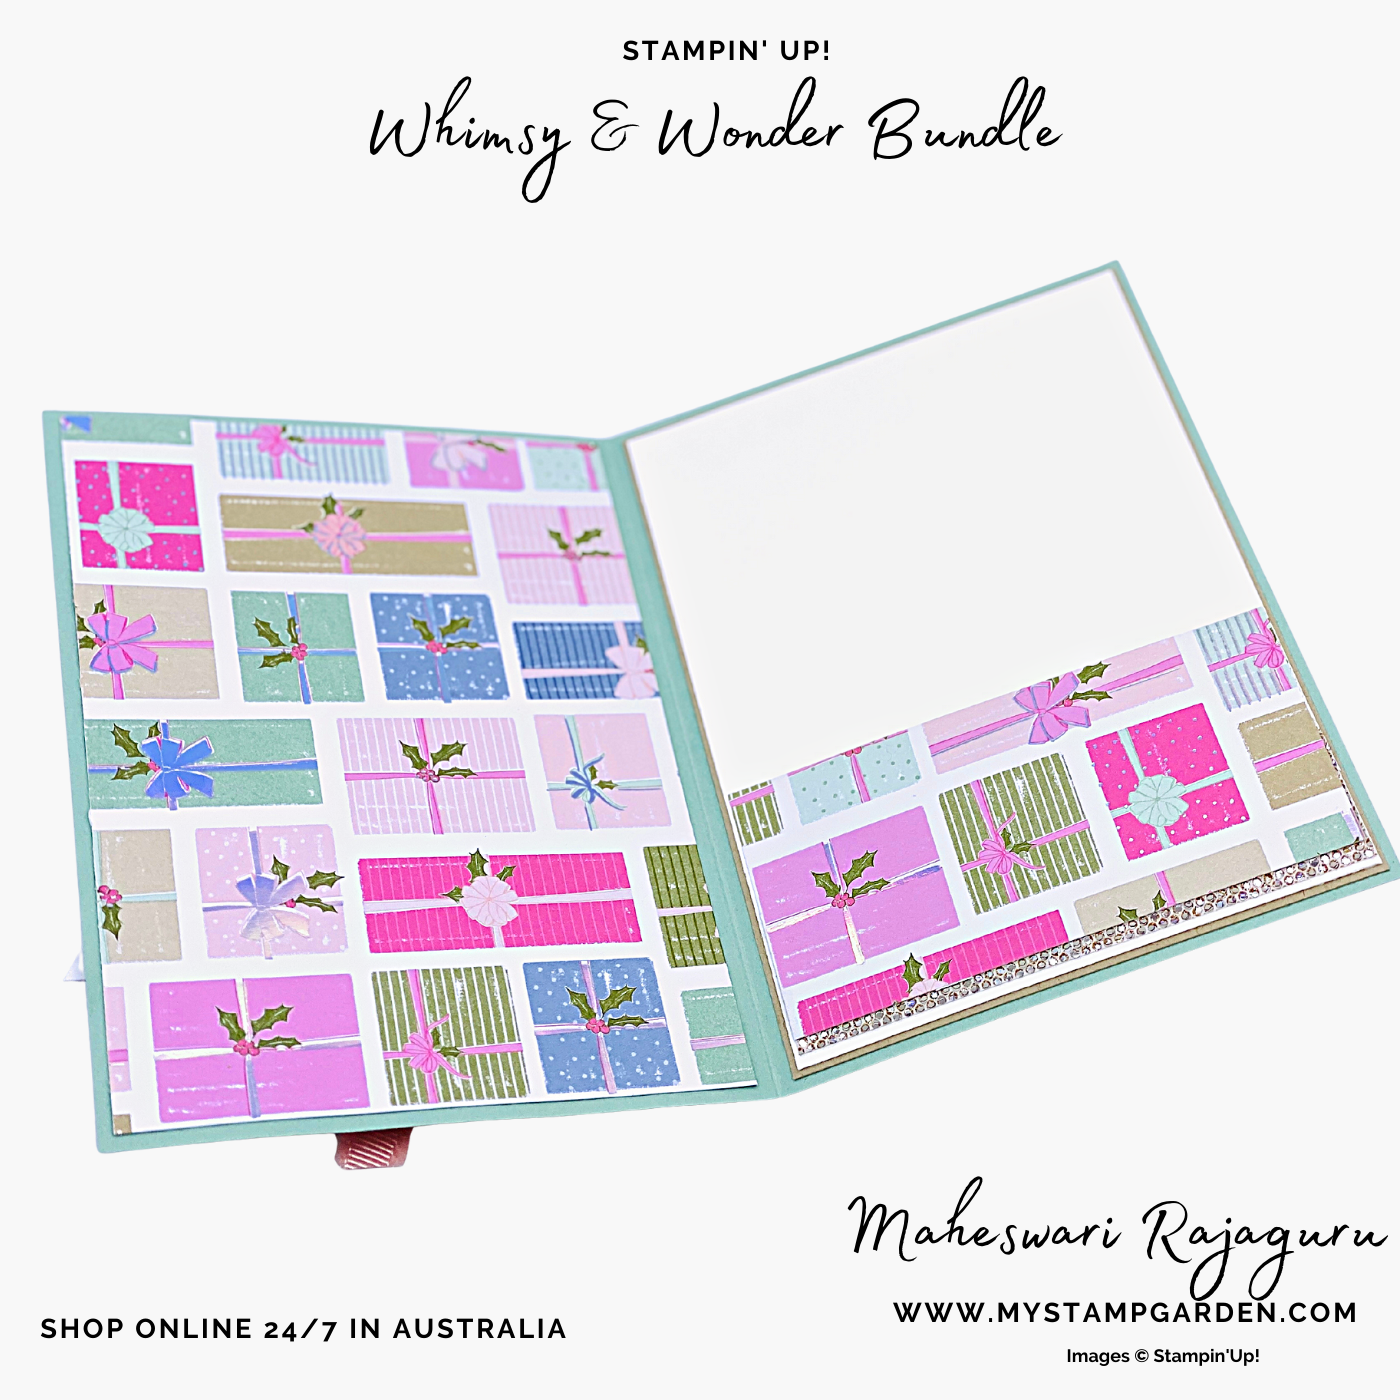
Attach all the pieces together. Then, adhere to the DSP on the sides and add a small amount of Be Dazzling Glimmer paper at the bottom.
Now you can hold the gift card on the right-hand side section.
Hope you liked both of my today's card. Leave me a comment. I love to hear from you.
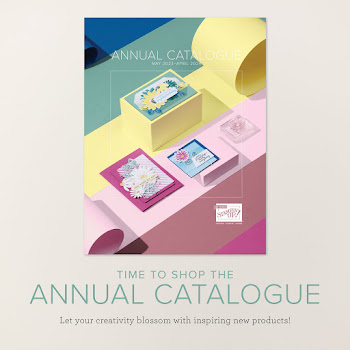
Click the below image. It will take you to my Online Store.
When you Shop Online for $50 or more using the Host Code: 72JCGHYW to receive a FREE GIFT and a handmade thank you card from me.
Why Join My Team?
- FREE classes for my team members.
- All my tutorials are FREE - exclusive to My Team ( value around $80 )
- Monthly Team Zoom Craft meetings.
- Join MyStampGarden's Community so much fun.
Shop Online 24/7
 |  |  |  |
 |  | ") | |
 |  |  |  |
 |  |  | |
 |
 Specialty Designer Series Paper")
 Specialty Paper")
 Frayed Grosgrain Ribbon")


Thank you so much for stopping by!
Crafty Hugs,
Maheswari :)
Whimsical Trees Tutorial Bundle:
I am very excited to share another new PDF and Video Tutorial Bundle for October 2021.
Click below to purchase the tutorial.
October Tutorial Bundle- Whimsy & Wonder Bundle - Au $22
12 exclusive tutorial comes with full details of product lists and measurements (in inches) with step-by-step video tutorials from the 12 outstanding Design Team Members.
You won't find any of these projects Online anywhere.


.jpg)