Happy Friday,
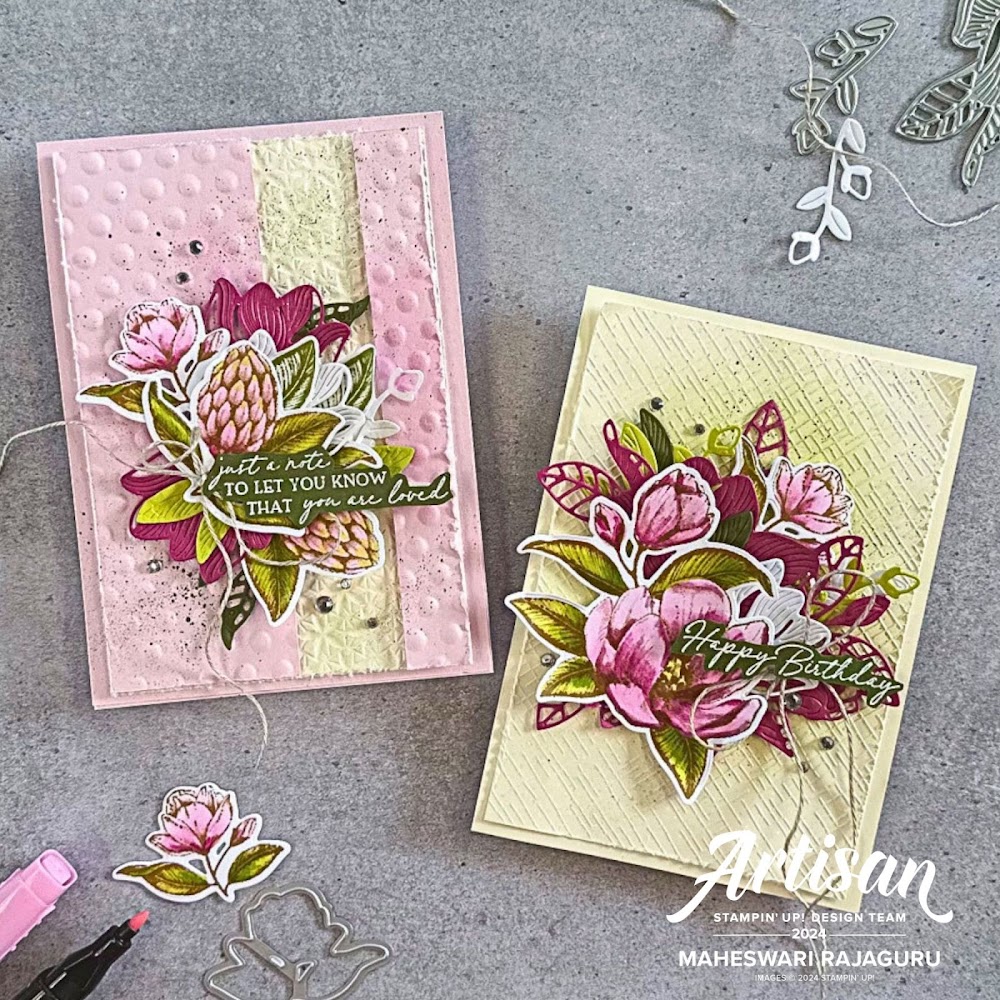
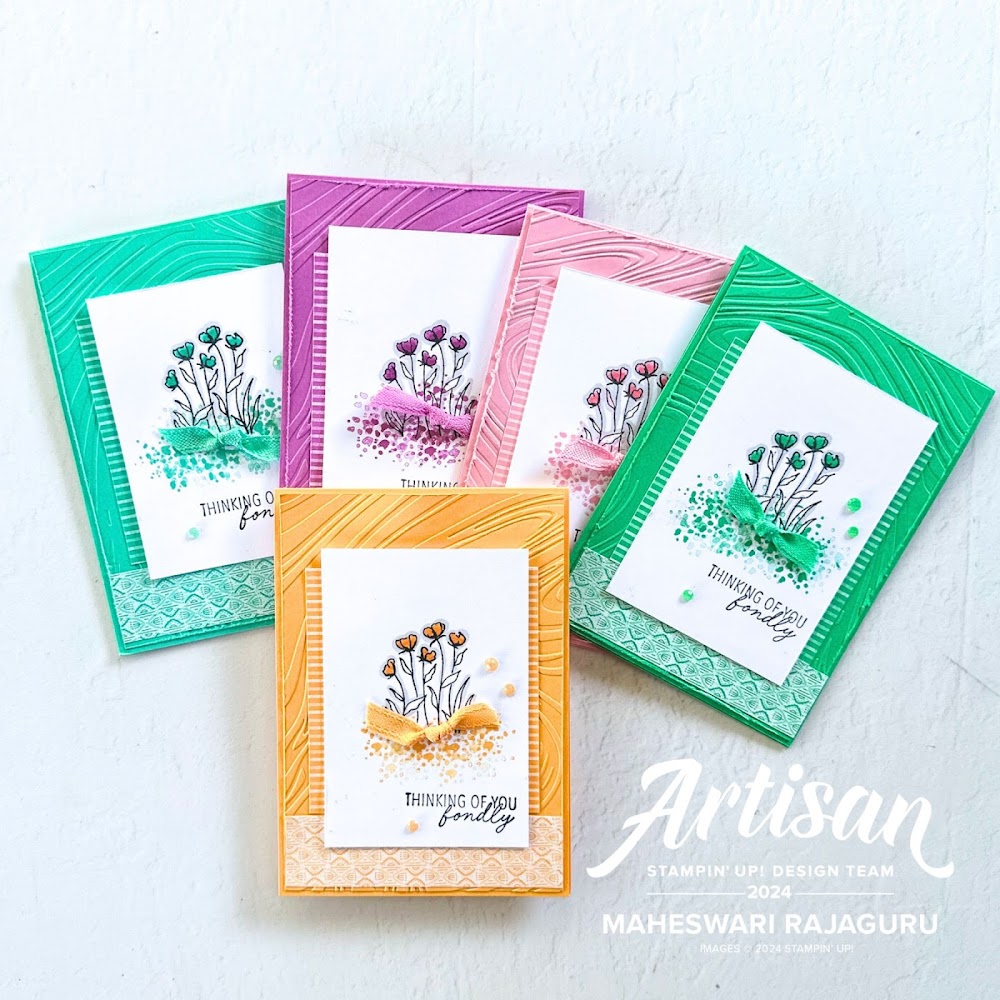
My Today's post uses the beautiful Cheerful Daisies Stamp set. I used this beautiful Cheerful Daisies after a long time.
All the Stampin' Up! products that I used here are available at my Online Store, Please check out the end of my blog post images to reach my Online Store.

- Base card Misty Moonlight, 10.5cm x 29.7cm scored @14.9cm.
- Die-cut 2 pieces of the Basic White cardstock using the Online Exclusive Radiating Stitches Two Dies.
- Adhere the small piece to the base card using glue and attach the embossed vellum on top using glue dots.
- Add the next layer of Basic White Frame (I used the back side frame) using Stampin' Dimensional.

- Die-cut the flowers using thick Basic White Cardstock watercoloured them using the Ink Boho Blue, and watercolour the leaves using Costal Cabana Ink
- Die-cut a few more flowers using White Vellum to add on top of the watercoloured flowers.
- I added another layer of the colour Misty Moonlight to some of the flowers to get the pop-up effect.

- Attach all the pieces one by one using glue and Stampin' Diemsnional.
- Now splatter a few Misty Moonlight Ink in front of the card.
- Stamp the sentiment in Basic Gray using Versamark ink and fussy cut the sentiment using Paper snips scissors.
- Adhere Linen thread using glue dots and attach the sentiment on top using Stampin' Dimensional.
- Finally, add the Blooming Pearls in front of the card.

- I ran out of the die-cut pieces, so I added some scrap pieces of the Coastal Cabana cardstock.
Product List
 |  |  |  |
 |  |  |  |
 | ") | ||
 |  |  |  |
 |  |  | |
 |  |  |  |
 |  |  | |
 |


Thank you very much for stopping by!
Happy Crafting!